
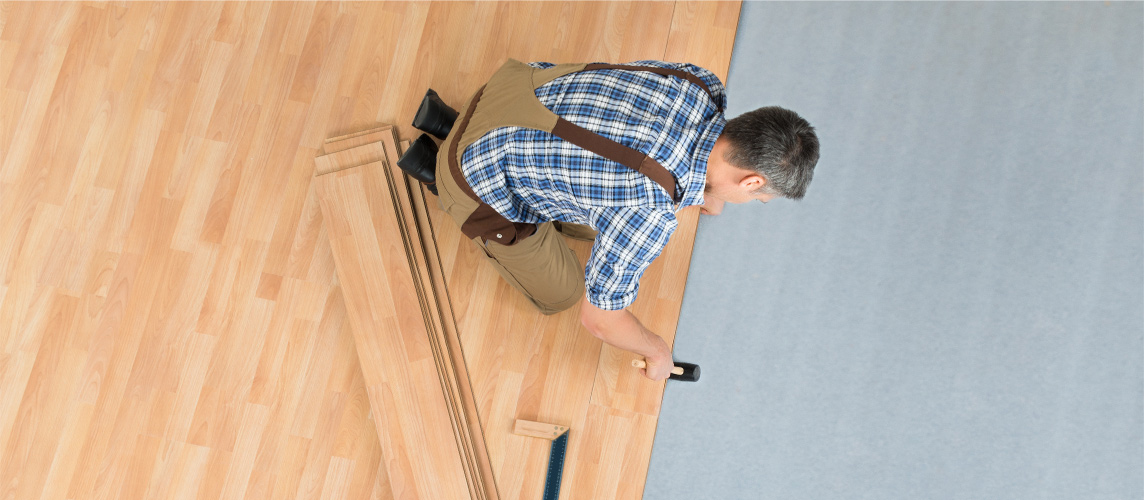
Modern click-lock flooring has made DIY installation more accessible than at any time in residential flooring history. Click-and-lock systems require basic carpentry skills and not specialized trades. Tools are affordable and widely available. Online tutorials cover most situations.
But not every flooring project is a good DIY candidate, and not every homeowner is the right fit for it. Knowing when DIY makes sense and when professional installation is the better choice helps you make the right call for each specific project instead of assuming one answer applies to all of them. What professional installation actually involves is the other half of this decision.
The Short Answer
Click-lock product, one room, a sound subfloor, no awkward angles, and a schedule with slack in it. When all of those line up, DIY is a reasonable call and saves thirty to fifty percent of project cost — roughly $500 to $1,500 on a 200-square-foot room. When only three or four line up, the saving is still there on paper and much less reliable in practice.
Tile, glue-down, carpet, stairs, whole-home work and anything needing real subfloor repair belong to a professional. So does any product whose warranty requires certified installation, because on a premium floor the coverage at risk often exceeds the labour being saved.
The honest comparison is not the DIY total against the professional quote. It is the DIY total plus whatever a mistake costs to put right, against a quote with somebody else carrying that risk. A first-timer should also plan for twelve to twenty hours where an experienced installer takes six to eight.
Which Flooring Types Are Most DIY-Friendly
DIY accessibility varies dramatically by flooring type, and the gap between the easiest and the hardest is wider than most people expect.
| Flooring type | DIY verdict | What makes it harder |
|---|---|---|
| Click-lock laminate | Most DIY-friendly | Basic carpentry skills, minimal specialized equipment |
| Click-lock vinyl plank | Most DIY-friendly | Same as laminate |
| Click-lock engineered hardwood | Possible, more demanding | Plank weight and edge sensitivity |
| Glue-down vinyl | Challenging | Adhesive timing and prep requirements |
| Nailed solid hardwood | Possible with the right tools | Specialized tools, less forgiving of error |
| Tile | Rarely the right first project | Significant skill and specialized tools |
| Carpet | Not a DIY product | Stretching equipment and technique |
When DIY Makes Sense
DIY is the right call when several conditions line up at once.
- The flooring is click-lock.
- The room is straightforward — no complex angles, no awkward transitions.
- You have basic carpentry skills and access to the tools.
- The subfloor is sound and needs no significant prep.
- It is one room, not whole-home work.
- Your schedule is flexible enough to absorb the learning curve.
When all six align, DIY saves thirty to fifty percent of total project cost — $500 to $1,500 on a typical 200-square-foot room. When only three or four align, the saving is still there on paper and much less reliable in practice.
Plenty of people come in planning to lay it themselves and leave still planning to, and on a straightforward room that is a reasonable outcome. There is one place where the advice is always against it: stairs. Every cut is different, the tolerances are unforgiving, and a mistake there is visible from everywhere in the room.
When Professional Installation Is the Better Choice
Professional installation is most often the better choice when several factors point that way. Tile, glue-down, or specialty installation requiring specific tools. Significant subfloor preparation needed. Multiple rooms or whole-home areas covered by the project. Stairs, complex transitions, or unusual layouts. Manufacturer warranty requires certified installation. Time is more valuable than the cost savings DIY would produce. Resale or insurance considerations matter.
Each of these is a strong indicator that professional installation produces better results. Two of these together is a reason to think. Four is a reason to hire.
Cost Comparison
A realistic comparison on a typical 200-square-foot room makes the trade-off concrete.
| DIY | Professional | |
|---|---|---|
| Materials | $1,000 to $1,500 | Included in the quoted total |
| Tools, first project | $100 to $300 | None |
| Total | $1,100 to $1,800 | $2,000 to $3,000 including labour |
| Time | 12 to 20 hours for a first-timer | 6 to 8 hours |
| If it goes wrong | Yours to fix | Theirs to fix |
The saving comes out at roughly $500 to $1,500 for a typical room, and it grows on whole-home projects where the tools amortize across several rooms. The second room always goes faster than the first.
What Tools Do I Need for DIY Click-Lock Installation?
Tape measure, utility knife, T-square, hand saw or circular saw with a fine-tooth blade, rubber mallet, tapping block, pull bar and spacers. That is the $100 to $300 line in the table above, and you own it afterwards.
Common DIY Mistakes
Specific, repeatable patterns produce disappointing DIY results, and they are the same ones that produce disappointing professional results in the trade.
- Skipping subfloor preparation — the most common cause of premature failure. The work is invisible, it does not feel like part of the install, and it gets shortchanged most often.
- Inadequate expansion gaps — buckling that appears within months.
- Installing without proper underlay — often voids the warranty outright.
- Not mixing planks from several boxes — visible patches of near-identical planks across the floor.
- Inadequate undercut at door frames — an unfinished look that is hard to correct afterwards.
Every mistake above is cheaper to avoid than to undo. Price the professional version before deciding — it is the only way to know what the saving actually is.
DIY and Manufacturer Warranties
Many manufacturer warranties require professional installation for full coverage, and some require manufacturer-certified installation specifically. Other warranties require documented adherence to installation instructions, which DIY can achieve but only with careful documentation. Read the warranty terms before committing to DIY—warranty implications can change the cost-benefit analysis significantly.
For higher-end products with longer warranties, the warranty value often exceeds the labour savings DIY would produce. For budget-tier products with limited warranties anyway, the warranty consideration matters less.
Hybrid Approaches
Some projects work well as DIY for parts and professional for parts. DIY removal of existing flooring with professional installation of new flooring captures the savings on demo work without risking the install itself. Professional subfloor prep paired with DIY click-lock installation gets the most consequential prep work right while letting you handle the simpler install. DIY installation in straightforward rooms paired with professional installation on stairs, complex transitions, and tile zones lets you save where DIY works without compromising on the parts where it doesn’t.
These hybrid approaches capture some of the cost savings while keeping professional handling of the most demanding parts. If you go this route, choosing the installer matters more, not less — you are asking someone to finish a job they did not start. They’re often the right answer for homeowners who want to be involved in the project without taking on the full project themselves.
Honest Self-Assessment
Three honest questions help clarify whether DIY is right for a specific project. Have you done flooring installation before, or is this your first time? Do you have time and patience for the learning curve, or do you need the project completed quickly? Are you comfortable with the project not being perfect, or do you want professional finish quality?
First-time installers, time-pressed homeowners, and those wanting professional finish benefit from professional installation. Experienced DIYers, time-flexible homeowners, and those willing to accept the DIY learning curve often do well with self-installation on appropriate projects.
When DIY Failures Are Most Costly
Some DIY mistakes are easy to fix; others are not. Buckling from missed expansion gaps requires lifting and reinstalling the affected section. Failed click-lock seams may require replacing affected planks with colour-matched material from a different production run, which rarely matches perfectly. Subfloor moisture issues from inadequate vapour barrier can damage the entire flooring installation over time. Voided warranties from improper installation change the project’s long-term financial outlook in ways that aren’t visible immediately.
When considering DIY, factor in the cost of fixing potential mistakes instead of just the savings from avoiding labour. The math often looks different once that calculation is included honestly.
Related Guides
A few other guides connected to this topic:
- Professional Flooring Installation: What to Expect (and Why It Matters More Than You Think) — The complete installation pillar.
- What to Do If Your Flooring Installation Has Problems — Closely related topic in this category.
- What Happens After Flooring Installation? (What to Expect Once Your Floor Is Installed) — Closely related topic in this category.
- Flooring Installation Services — Our sell-and-install service — measuring, an itemized quote, and certified installation handled as part of your purchase.
- Why Alexanian — what you get when the retailer and the installer are the same company.
Trying to Decide Between DIY and Professional Installation?
Installation starts with choosing the right product. Book an in-store appointment at one of our 17 Ontario showrooms and your consultant will help you select your flooring and coordinate measuring, an itemized quote, and professional installation as part of your purchase. In-home appointments are available on request.
Frequently Asked Questions
Is DIY flooring installation worth it?
For click-lock vinyl or laminate in straightforward rooms, DIY can save 30 to 50 percent of project cost. For tile, glue-down, complex layouts, or first-time installers, professional installation usually delivers better results.
How long does DIY flooring installation take?
First-time DIY of a 200-square-foot click-lock installation takes 12 to 20 hours total including prep, layout, and installation. Experienced installers complete the same in 6 to 8 hours.
Does DIY void manufacturer warranties?
Some warranties require professional or certified installation. Others require documented adherence to installation instructions, which DIY can achieve. Read warranty terms before committing.
What is the easiest flooring to install yourself?
Click-lock vinyl plank and click-lock laminate are the most DIY-friendly. Both use simple tools and basic carpentry skills.